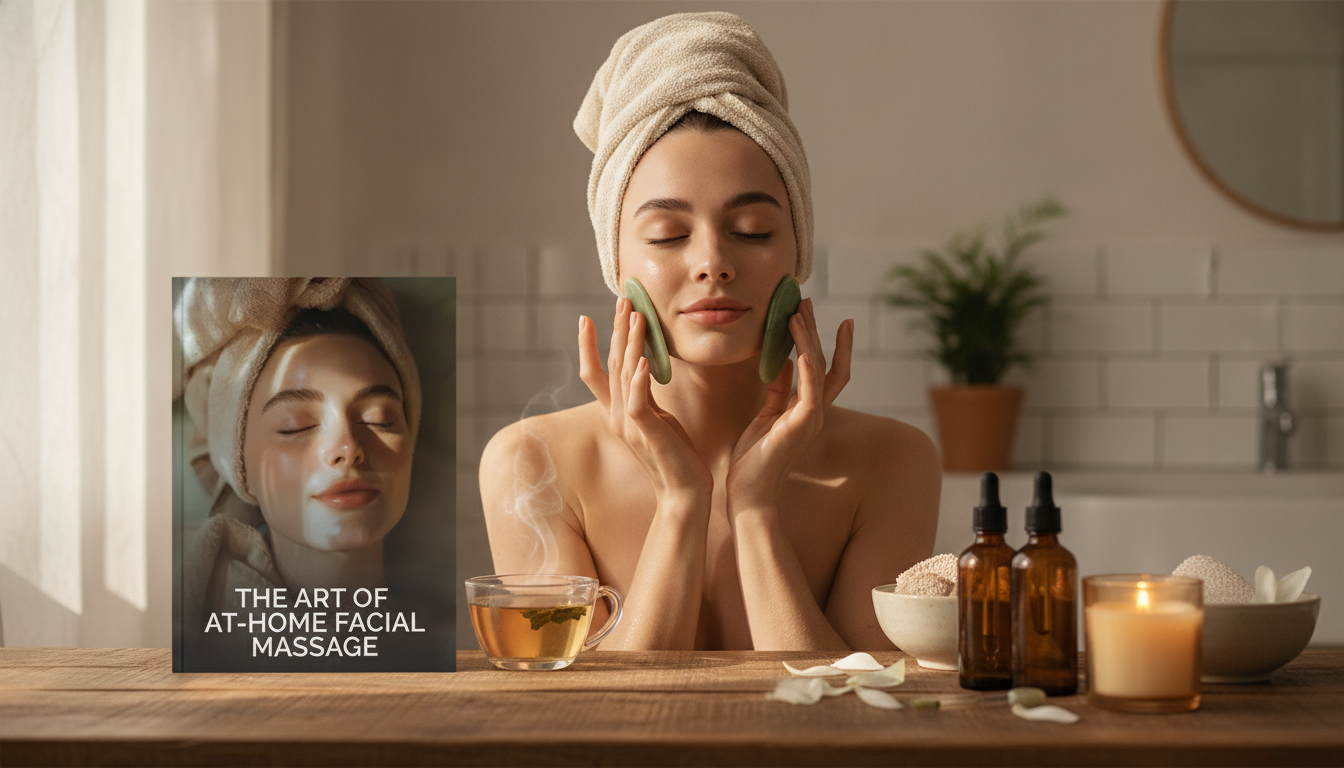
Facial massage can help skin look more refreshed by supporting circulation, easing tension, and encouraging a softer, more lifted appearance over time. The best part: a simple hands-only routine is repeatable, calming, and easy to fold into daily skincare—no tools required (though optional add-ons can make it feel extra soothing).
For general skin safety and routine basics, the American Academy of Dermatology Association (AAD) is a reliable reference. For an overview of drainage-style massage concepts, see the Cleveland Clinic’s lymphatic drainage massage overview.
| Step | What to use | Why it matters |
|---|---|---|
| Cleanse | Gentle cleanser + lukewarm water | Reduces friction and keeps massage more comfortable |
| Add slip | Oil/balm/moisturizer | Prevents tugging; supports smooth strokes |
| Warm-up | Clean hands, 3 deep breaths | Helps relax facial muscles for easier release |
| Sanitize tools (optional) | Soap/warm water or alcohol wipe (tool-safe) | Helps avoid transferring residue to skin |
Keep your shoulders relaxed, elbows supported if possible, and use enough product so your hands glide smoothly. Repeat each stroke slowly; a steady pace is more effective than rushing.
With light pressure, sweep from behind the ears down the sides of the neck to the collarbone. Repeat 5–8 times per side.
Do gentle presses just above the collarbone to encourage a “drainage-ready” start. Aim for 5–10 slow presses per side.
Using knuckles or fingertips, glide from the center of the chin along the jawline toward the ear. Repeat 5–8 times. Add small circles at the jaw hinge to soften clenching.
Place fingers beside the nose and sweep outward and slightly up toward the temples. Repeat 8–10 times. Keep pressure especially light under the eyes.
With ring fingers, trace a very gentle path from the inner corner to the temple. Do 5–8 passes and avoid pulling the skin.
Glide from the center between the brows across the brow to the temple. Repeat 8–10 times, then hold gentle pressure at the temples for 2–3 breaths.
Sweep upward from brows to hairline. Repeat 8–10 times. If tension feels “stuck,” add small horizontal strokes across the forehead.
Repeat neck sweeps down to the collarbone to complete the flow, then press remaining product into skin with your palms.
| Goal | Best strokes | Time | Pressure |
|---|---|---|---|
| Depuff | Neck sweeps + light outward cheek strokes | 3–6 min | Feather-light |
| Relax tension | Jaw circles + brow smoothing + temple holds | 5–10 min | Light to moderate |
| Boost glow | Upward cheek/forehead sweeps + finishing presses | 5–8 min | Light |
If you like having everything in one place, the Red Rose Floral Women’s Cosmetic Bag is a simple way to store skincare, clips, and any optional tools so the routine stays easy to repeat.
For a clear, repeatable flow you can reference anytime, explore The Art of At-Home Facial Massage | Step-by-Step Guide to Facial Massage at Home | Digital Self-Care & Glow-Enhancing Routine eBook.
If your routine includes stronger active ingredients and you want to minimize irritation while keeping skin comfortable, Retinol: Safely Navigating the Skincare Superhero | Digital Retinol Safety Guide, eBook & Checklist can help you build a more skin-friendly plan. For spa-night pairing ideas that still prioritize safe use, Mask Magic: Your Fun & Safe Guide to Glowing Skin | Digital Skincare eBook is an easy companion.
For most people, 3–4 times per week for 5–10 minutes is a comfortable cadence. Daily massage can work well too as long as pressure stays very gentle and you use plenty of slip.
Massage should be done with enough slip to prevent tugging, either over a lightweight oil/serum or over moisturizer. If you prefer a heavier cream, massage first with a glide product and seal with cream afterward.
Avoid massaging over broken skin, active rashes, sunburn, severe inflammation, or painful swelling. Work around inflamed acne, and seek professional guidance for persistent pain or concerning skin changes.











Leave a comment