Lymphatic facial massage is a light-touch technique that follows common lymph flow pathways to support the look of reduced facial puffiness and a more refreshed, “awake” complexion. It’s often used for non-medical concerns like morning swelling, travel-related puffiness, or that heavy-feeling face after poor sleep.
It isn’t deep tissue work, aggressive “face sculpting,” or anything that should feel intense. The guiding principle is simple: direction, pacing, and consistency matter more than force. If you’re leaving your skin sore, hot, or visibly irritated, the pressure is too strong for a lymphatic-style approach.
Skip facial massage over active infection, open wounds, severely inflamed acne, or any area that’s healing from recent injectables/fillers until a licensed professional says it’s okay. Use extra caution (and ask for guidance) if you have a history of blood clots, uncontrolled thyroid issues, cancer treatment-related lymphedema, or recent facial/neck surgery.
Stop immediately if you feel dizziness, pain, throbbing, a rash, or new swelling. Lymphatic techniques should feel soothing and calming—not sharp or uncomfortable. Keep pressure feather-light around the eyes and gentle along the front of the neck.
For a clinical overview of lymphatic drainage massage and who should avoid it, see Cleveland Clinic — Lymphatic Drainage Massage. For lymphedema background and medical considerations, review National Cancer Institute — Lymphedema and Mayo Clinic — Lymphedema.
Start with clean hands and a clean face to lower the risk of irritation. Add “slip” using a lightweight facial oil, serum, or moisturizer so you can glide without tugging—lymphatic work is about moving skin gently, not dragging it.
Set your posture before you start: shoulders down, neck long, jaw unclenched. A mirror helps you keep stroke direction consistent, especially when you’re learning the neck-and-collarbone steps.
Timing is flexible. For maintenance, aim for 3–5 minutes daily. For a more focused routine, 8–12 minutes about 3–4 times per week works well. Keep the pace slow and controlled; rapid rubbing tends to add heat and friction without improving results.
This order is designed to be easy to memorize and repeat. The theme is “open the neck first, move from the center of the face outward, then drain down.” Alternate left and right sides to stay symmetrical and avoid overworking one side.
| Area | Stroke direction | Pressure | Reps |
|---|---|---|---|
| Neck (sides) | Down toward collarbone | Very light | 5–10 |
| Jawline | Chin → ear, then down neck | Light | 5–8 |
| Cheeks | Nose → ear, then down neck | Light | 5–8 |
| Under-eye | Inner → outer along orbital bone | Feather-light | 3–5 |
| Forehead | Center → temples, then down neck | Light | 5–8 |
Hands are the easiest way to learn. You control pressure naturally and can feel when the skin is gliding versus stretching. If your fingers “skip,” add more product slip.
Ice tools (cold therapy) can be a great add-on for puffiness-prone mornings. Keep passes brief and gentle to avoid over-chilling sensitive skin. If you want an easy option for face, eyes, and neck, consider the Ice Roller Massager for Face, Eyes & Neck – Reusable Silicone Skin Tool.
Rollers provide consistent glide and can make it easier to stay slow. Use the same direction rules (center of face outward, then down the neck) and avoid pressing harder just because it feels “productive.”
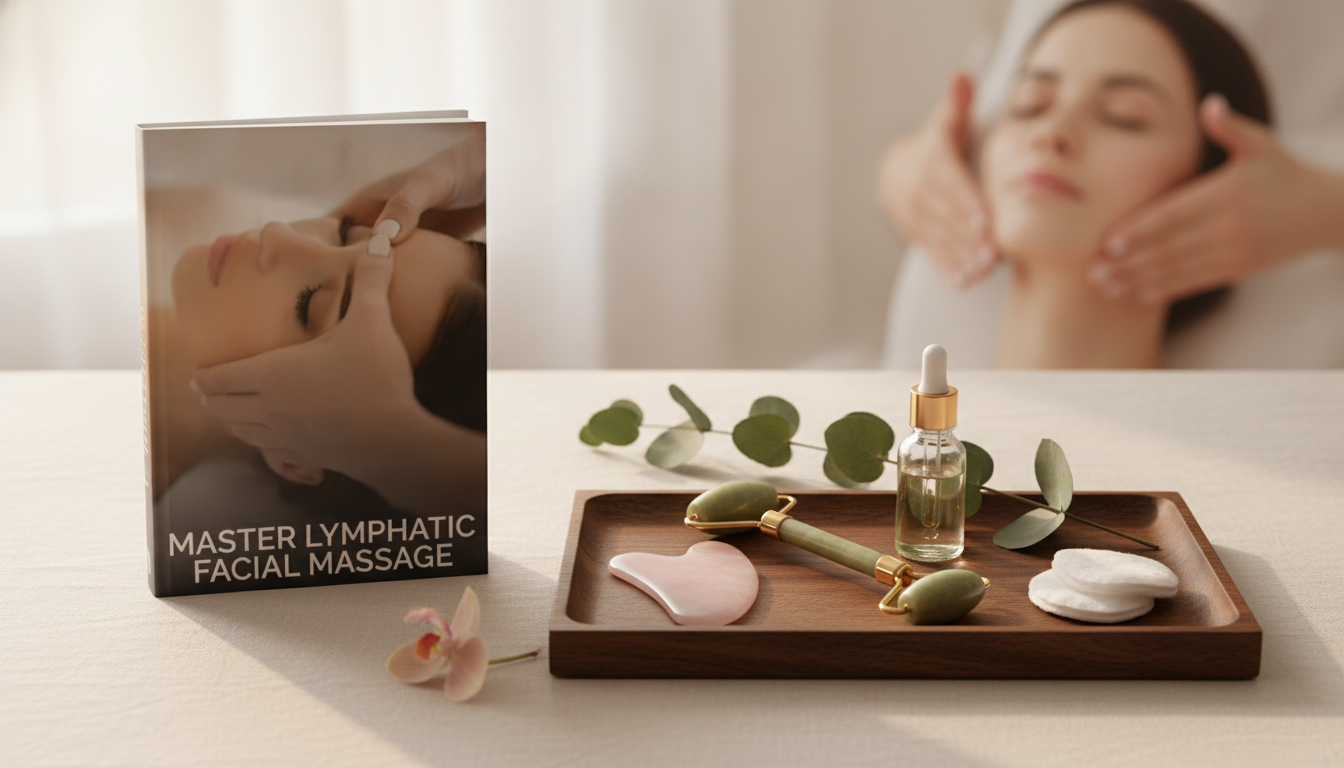
A structured plan makes it easier to follow the same stroke order, stay gentle, and track what actually changes over time. If you prefer a step-by-step format with visuals, timing ideas, and tool options, the Master Lymphatic Facial Massage | Complete Guide & eBook is designed around a clear sequence and self-check cues.
For a shorter, morning-focused routine that prioritizes de-puffing habits and quick structure, Smooth Mornings Start with Massage | Digital Guide fits well into a get-ready schedule—especially when paired with light pressure and consistent neck finishing strokes.
For most people, 3–5 minutes daily is a simple maintenance rhythm, or 8–12 minutes about 3–4 times per week for a more focused routine. Keep pressure gentle, and pause if you notice irritation or increased redness.
Many routines start with gentle neck and collarbone “openers,” then move from the center of the face toward the ears and finish by draining down the neck. This helps keep the sequence consistent and calming.
Yes—an ice roller can pair well for puffiness, especially in the morning. Use short, gentle passes with enough slip, avoid over-chilling sensitive skin, and clean the tool after each use.


Leave a comment